When the time comes to move out of a rental property, you have a number of factors to consider. From conducting a final walkthrough inspection to getting your security deposit back, there’s no shortage of things to do in those last few days before a move. One of the responsibilities you’ll be dealing with at this time is a move-out checklist. To help make your move-out experience a smooth one, we’ve collected answers to all of your questions regarding a move-out checklist.
What is a move-out checklist?
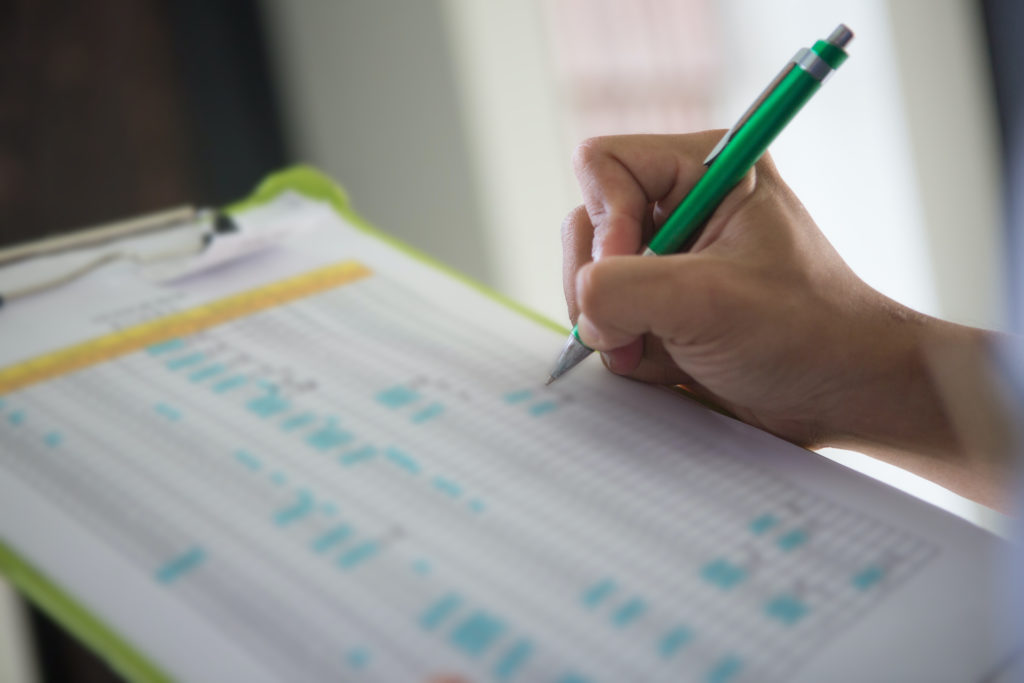
A move-out checklist is a form that both the renter and landlord can use when the renter moves out. This checklist ensures both parties agree to the property’s condition when compared to the move-in checklist.
Depending on your state and landlord, the checklist may record the condition of each aspect of the property. It could also be a list of tasks that you need to complete before you move out. In both cases, a move-out checklist is one of your final interactions with a landlord and the chance to leave them with a good impression — and maybe leave you with a great reference. It’s also the best way to make sure you get most or all of your security deposit back.
Benefits of a Move-Out Checklist
Move-out checklists have many benefits for both the landlord and renter. First, a checklist provides both parties with clear expectations of their responsibilities during the move-out process. It tells the renter what they need to complete before quitting the property and how and when they’ll get their deposit back.
Second, a checklist keeps the renter on track to move out with as few complications as possible by giving them step-by-step guidelines to comply with both the landlord’s and state’s procedures. In this way, both the renter and landlord can also use a move-out checklist as written documentation in case of any legal disputes.
Finally, a move-out checklist neatly wraps up your relationship with your landlord. By laying out the process of your final business interactions, move-out checklists can help lower stress levels and ensure both parties have their needs met.
Move-Out Checklist
We’ve compiled the most essential items among move-out checklists to help you prepare for your final walkthrough with your landlord. Take each item one at a time to ensure you complete every task. If your rental unit has more than one bedroom or bathroom, repeat these sections as many times as you need.
Bedrooms and Living Spaces
- Vacuum all carpeting
- Spot clean any carpet stains. Note that some landlords may expect you to use a professional carpet cleaner. Be sure to arrange this in advance and incorporate the cost into your moving budget.
- Mop any tile or hardwood floors
- Make any necessary floor repairs, like taking care of carpet tears and broken tiles. Double-check with your landlord if you’re unsure of what you should repair.
- Wash the walls, especially in areas around heaters and vents
- Dust corners for cobwebs
- Wipe down light switch plates
- Remove all mounted decor and any nails, screws, or hooks
- Patch any holes with spackle and then sand the area smooth
- Repaint any walls or specific areas that need it
- Clean light fixtures and ceiling fans
- Clean the windows inside and out
- Clean out window tracks
- Wipe down window blinds
- Fix any broken windows, screens, or blinds
Kitchen
- Repair any appliances you may have damaged
- Clean the sink and garbage disposal
- Clean out the drain
- Wipe down cabinets and countertops
- Clean out the pantry
- Clean both inside and outside of the microwave
- Wipe down the stove. Be sure to clean the exhaust fan and under the drip pans
- Clean out the oven. Some ovens have a self-cleaning feature. You can also purchase oven cleaner from hardware stores.
- Clean inside, under, and behind the refrigerator
- Clean out the dishwasher—don’t forget to get both inside and around the door
Bathroom
- Clean and sanitize the bathtub, shower, sink, and toilet
- Verify that the toilet works
- Get rid of any mildew or mold
- Wipe down the counters and mirrors
- Clean out drawers and cabinets
- Clean the grout
- Re-caulk as necessary
- Clean the exhaust fan
Exterior
- Clean window exteriors
- Wipe down all doors, frames, and knobs
- Ensure all windows work properly
- Ensure all doors work properly
- Check that all locks work
- Remove any outdoor belongings or furniture from the yard, deck, or balcony
- Clean any deck, balcony, or patio areas
Autre
- Check that all smoke and carbon monoxide detectors work, and replace any batteries
- Replace broken or burnt-out lightbulbs
- Take out the trash
Additional Tips
In addition to completing your move-out checklist, you should be aware of several other items that you’ll need to stay on top of:
- Research your lease terms. This is especially important if your landlord doesn’t provide you with a move-out checklist.
- Don’t forget to give your landlord advance notice of your move-out date. Check your state laws to see how early you’ll need to start this conversation.
- Notify utility companies of your lease expiration, including electric, water, gas, telephone, and internet providers. You can also take this time to turn on utilities in your next rental.
- If you can, ask for time off from work for the move. A little extra time to clean your old property and get settled in your new apartment or house can go a long way.
- Change your address with your bank, credit card companies, employer, loan providers, and anyone else who will need to reach you. You can also apply to have your mail forwarded to catch anything you might have missed.
- Cancel or update your renter’s insurance
- Return all keys and parking permits to the rental property. Check with your landlord about their desired protocol.
Move-out checklists can be a huge help in streamlining your move out process and leaving your rental property in top condition. If your landlord doesn’t provide you with a checklist, consider creating one yourself with the information provided here.
Moving out? Search thousands of apartments on Zumper and find your new home.
Contenu associé