When you hear the phrase DIY, does it make you want to run for the hills? Do you look at projects wistfully thinking how nice it would be to try them and display them proudly in your home, but are too afraid to try? Not all projects require you to be a professional – there are a lot of handmade undertakings that can be completed with relative ease.
Here are some of our favorite projects that you can complete in less time is takes to say “do it yourself.”
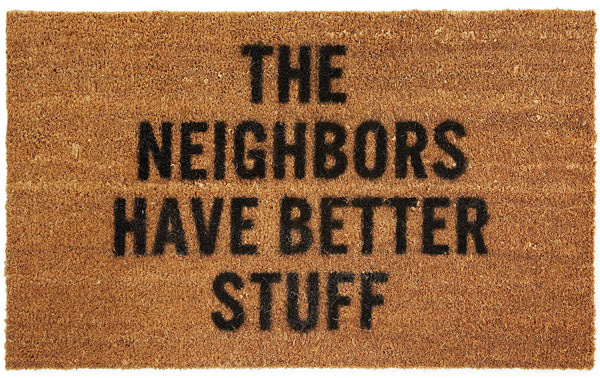
DIY Doormat
Even if you live in an apartment complex, having a doormat in front of your door is a great way to send a message to those who are visiting, and to wipe off your feet from the outdoor weather. A simple enough task that requires minimal time and effort.
What you will need:
- Mat
- Spray paint
- Stencil or construction paper
- Craft knife
- Newspaper
First, you will need to purchase a plain mat about the width of your door, along with some spray paint; the color of your choice. Then you can either choose to purchase a stencil from a craft store with some words on it that you like, or if you prefer, you can purchase a piece of construction paper about the size of your mat and cut out your own phrase.
Your phrase can be anything you like, from a simple “Hi” or “Welcome” to a whimsical “Dog Lovers Only!” Once you have made your choice, place the stencil on the mat and cover any exposed outside areas with some newspaper.
Head outside and spray over your stencils with your spray paint. You may have to spray it twice (letting it dry a bit in between), depending on the color. Once the paint is dry, peel off the stencil and get ready to display your beautiful rug in all its glory!
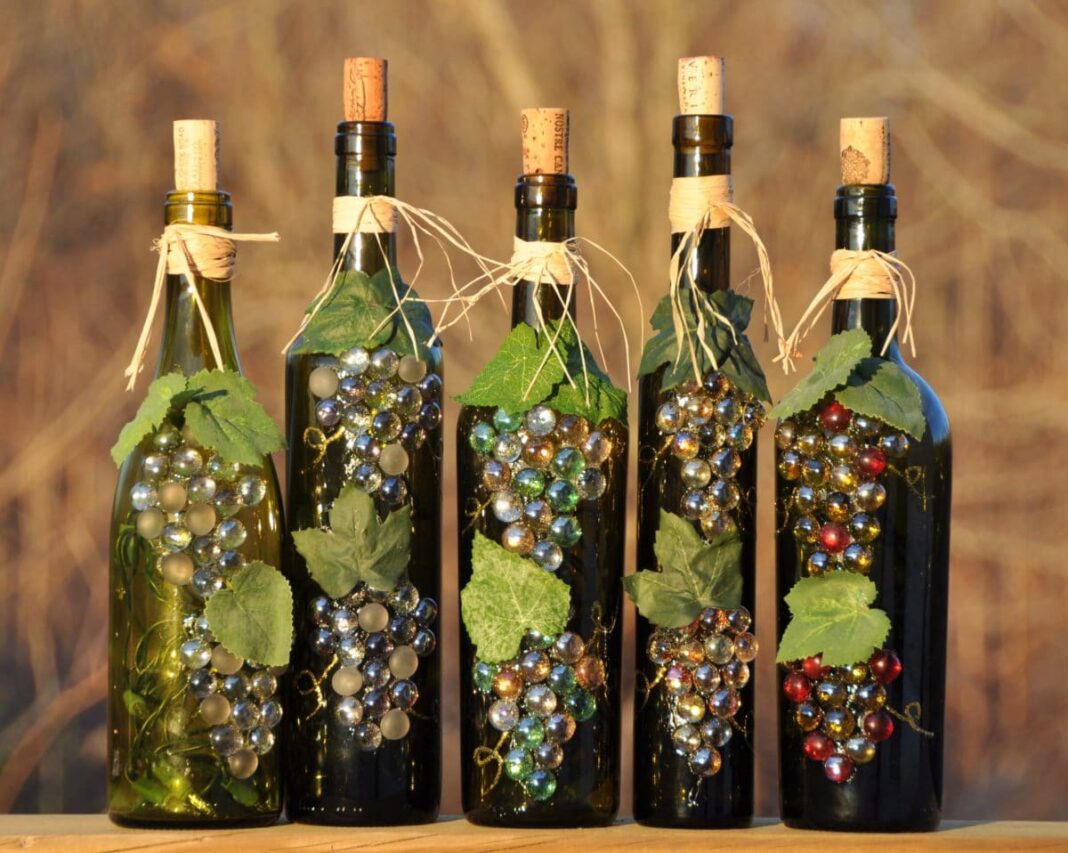
Decorative Wine Bottles
This is a great way to use up some empty wine bottles, something that many of us have, and to decorate your home at the same time.
There really is no wrong way to decorate them, and no end to the supplies you can find at your local craft or dollar store. In some cases, if you have a nice color-tinted bottle, you won’t even need to paint it, you can just add some decorations.
What you will need:
- Empty, clean bottles, with the labels removed
- Rope, flowers, paint, corks, lettering – the choice is yours
- Glue or glue gun to fasten decorations onto the bottles
- Spray paint
First, clean the bottles and remove the labels. This can be done in a sink full of hot, soapy water. If the label won’t come off, try rubbing it with some baby oil or similar oil in your cupboard. Then, once the bottles are dry, you can leave them as they are or spray paint them a color of your choice.
The paint color selections are endless and you can choose from a variety of different finishes and embellishments, such as: matte, metallic, glitter, or even give them a frosted look. Once you have completed this step, the rest is simply time spent decorating them, all based on your inspiration.
You can choose to select a phrase to write across the bottles, like Love ou Family for example, or simply decorate them with the supplies you have picked up from the store. As an added bonus, these bottles can be used to hold some flowers and can be grouped together, or scattered throughout your home.
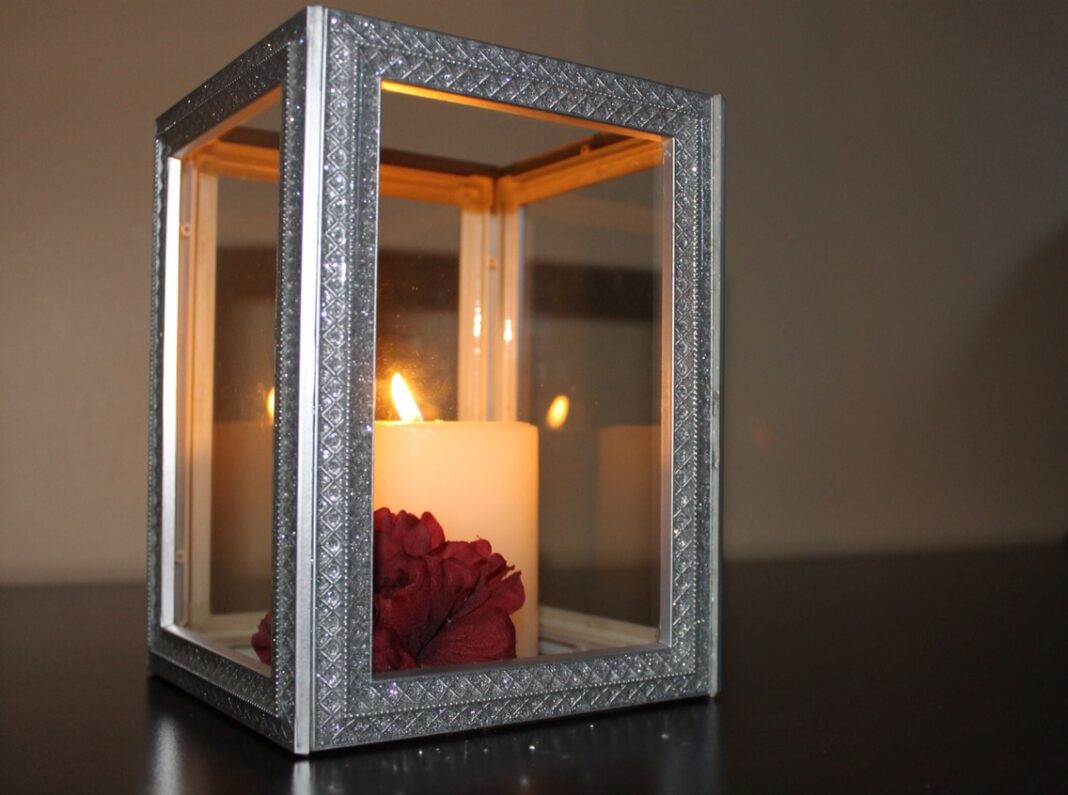
Frame Lantern
A simple and inexpensive way to add some elegance to your place is with a frame lantern. Feel free to make more than one as they really take no more time than gluing some frames together, especially if you choose not to paint them.
What you will need:
- Picture frames
- Paint – optional – spray paint or other
- Paint brush
- Glue gun
- Candles
- Artificial foliage
After you have all the supplies you need, simply remove the backs of your frames and if you prefer, go ahead and paint them. Once the paint is dry, glue the edges together so that they form a lantern shape. Once the glue has dried, you can easily place one large candle, or a couple smaller candles within.
This project can make a great mantle piece or even a centerpiece for a table. If you prefer to not use a candle, you can put some artificial foliage within to spruce it up.
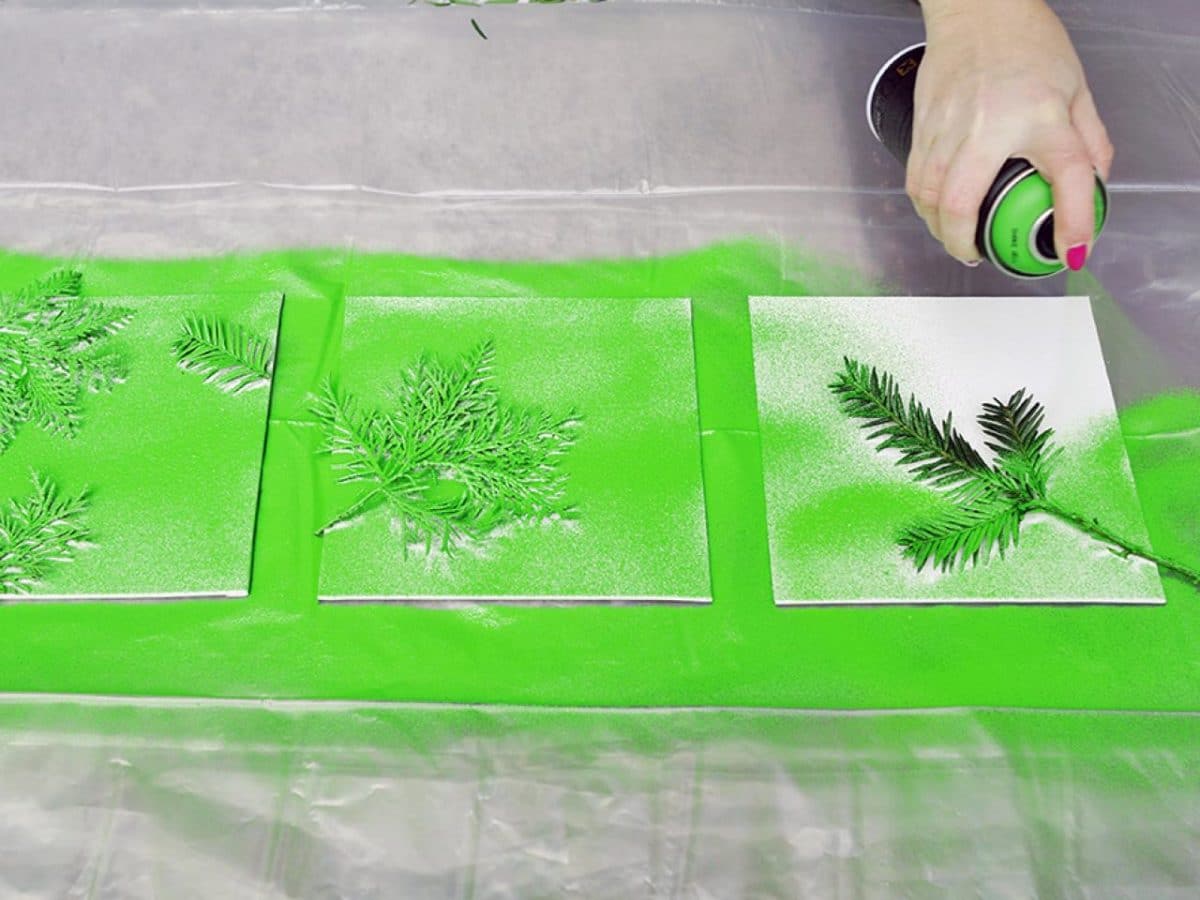
Spray Painted Canvas
This art piece can not only be proudly displayed and bragged about to your friends as a “yours truly original” but is easy and inexpensive to create.
What you will need:
- Canvas
- Spray paint (multiple colors)
- Tree branches, textured items, pine cones, flowers, anything with a distinctive shape
This can be a fun activity to do with kids, as it requires a bit of a scavenger hunt at your local park or trails. Once you have selected one or more items that you would like to use as the outline on your painting, simply place the item or items strategically on your canvas. Then, using the spray paint, coat the canvas making sure to cover all exposed parts. When the paint has dried, remove the items to reveal your new masterpiece.
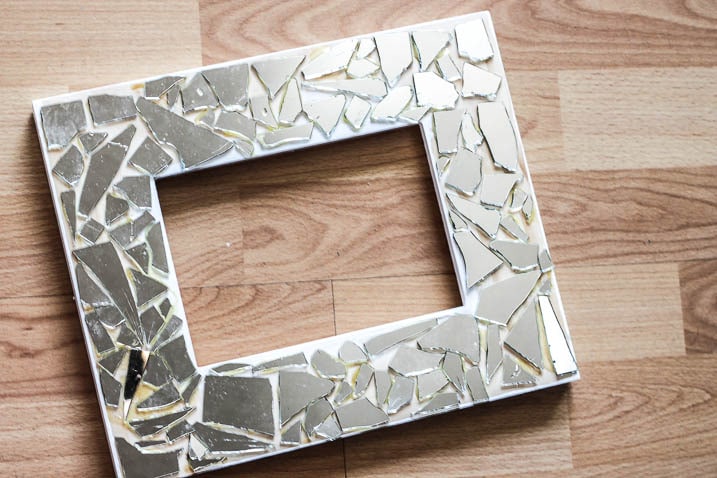
Recycled CD Mirror or Picture Frame
In the age of everything being digital you may find that you have a lot of CDs, whether as music or DVDs, that you no longer use hanging around your home. This is a great way to use them up and to add some pizazz to a plain mirror or picture frame.
What you will need:
- Mirror or picture frames
- Old CDs or DVDs
- Towel
- Hammer
- Glue gun
This is another great project – and it can be more fun than you think to smash old CDs into pieces. Just make sure to be safe and supervise little ones to keep all fingers intact.
Take the old CDs and wrap them in a towel, then have your kids, or you, break them to pieces with a hammer. Check on the progress to make sure that you have reasonably sized pieces. Once you are happy with the size, pull out your glue gun and glue all the pieces around the mirror frame or the picture frame. When everything has dried, hang proudly on a wall or give to a friend or loved one for a great gift.
Mason Jar Storage Holder
This simple piece can give a nice rustic look, while still offering useful storage for a variety of rooms in your home. You can hang it in your hall as a welcoming view for visitors and fill it with flowers or you can even use it in your bathroom to hold miscellaneous bathroom items, like cotton swabs, or even potpourri.
What you will need:
- Mason jars
- Piece of wood (big enough to hold the jars)
- 3 – 4 screws and screwdriver
- Pliers
- Sharpie
- Pipe clamps (found in plumbing section of hardware store)
- Picture frame security hangers
First, remove the lids from the mason jars. Then, place the jars in the pipe clamps and tighten them almost completely with the use of a screwdriver. Once you have the pipe clamp tightened, you will then use the pliers to bend and snap off any excess hanging metal from the clamp.
Ensure that the screw part of the clamp is on the side of the mason jar and that the notches are at the back. Mark on the notches the center of the jar with your sharpie, this is where you will place the screw through. Next, you will remove the pipe clamps from the jars and prepare your piece of wood.
Align the pipe clamps so that you can fit all three across your piece of wood and mark with your sharpie where you will place each screw. Then place a screw between the notches on the pipe clamp and with your screwdriver secure the screws to the piece of wood. Be careful to not damage the surface below your piece of wood by placing something soft beneath or another piece of scrap wood to be safe.
Once you have secured all three pipe clamps you can now slide your mason jars back into the clamps and then tighten their hold on the jars. Your final step is simply finding a location where you want to hang your piece and use a couple picture frame security hangers to easily attach it to the wall.

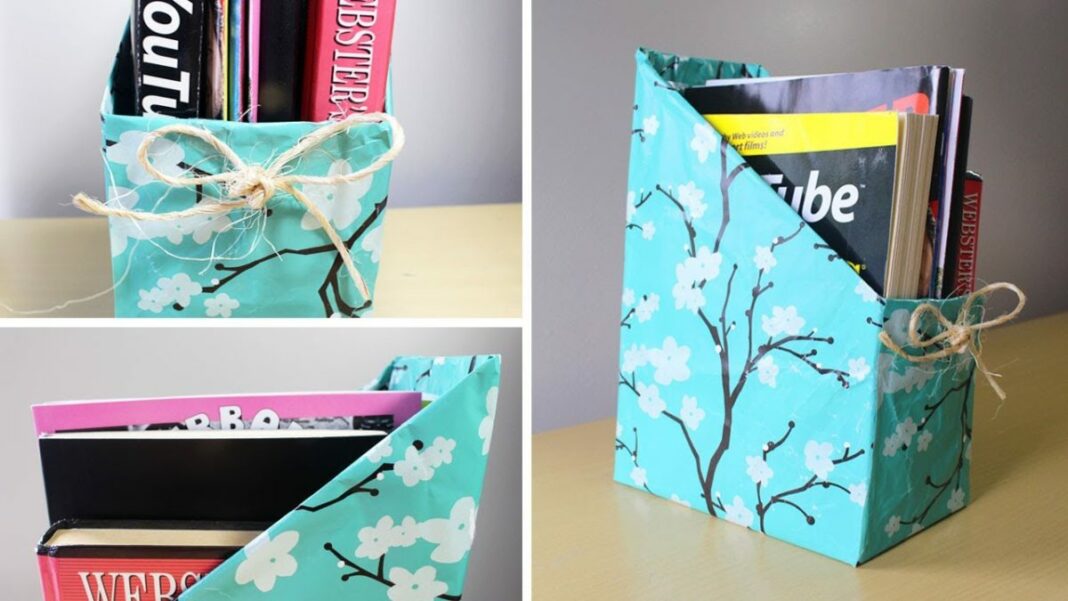
Paper Organizer
If you’re like us and you love your morning cereal, you may also have plenty of boxes sitting in your cupboards waiting to be put to good use. What better use can that be than to have them organize the paper clutter that so often drifts into our homes?
Instead of buying some paper organizers from the store, which can be quite costly, why not create your own? Not only can they be made rather easily, but you can also add your own flare, allowing them to match your décor.
What you will need:
- Scissors or craft knife
- Ruler
- Wrapping paper or contact paper
- Tape
- Pencil or pen
To begin, draw a line on one of the smaller sides of the box, around the width, half an inch from the top. Next, turn the box over to the opposite side and draw another line across the width of the box, 4 inches from the bottom. On both wider sides of the box, connect the lower line diagonally with the upper line you have previously drawn. Once all lines are complete, cut along the lines all around the box.
Once the box shape is cut out, you can wrap the box with the contact or wrapping paper as you would a present, making sure to leave two inches at the bottom of the box that you will fold over, and at the inside edges of the box that will be folded in.
Tape down the hanging edges on the inside of the box, and fold in the bottom edges by folding in the smaller sides first, followed by the longer sides and secure them to the box. If you find that you have too much paper, you can always neatly cut it off.
Once you have taped everything down, you can now use this organizer to hold magazines, bills, or excess papers and place it anywhere that needs some extra organization.
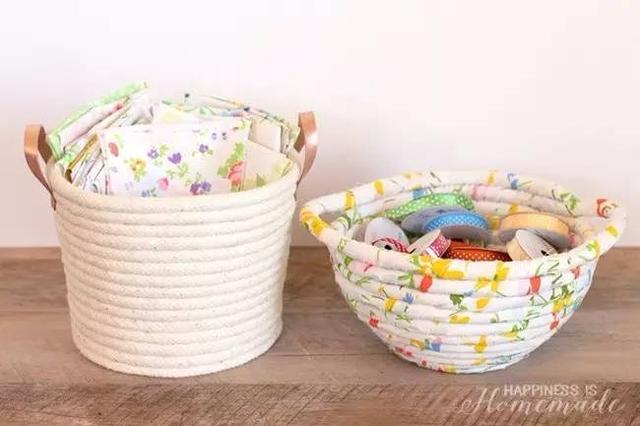
Rope Baskets or Boxes
Who needs to spend excessive amounts of money on woven bins when you can just make your own? Not only can you create this look with dollar store baskets, but you can also reuse cardboard boxes that you may have lying around your home.
What you will need:
- Box or basket
- Rope
- Fabric
- Glue gun
- Scissors or craft cutter
Once you have selected your box or basket, you will want to have some fabric to go within; choose whatever will fit with the décor of your home. Place the fabric inside the basket and fold it over the edges and glue them down. Once the glue has dried you may now begin wrapping the rope around the sides of your basket, making sure to put glue on each part of the rope that will touch the basket.
Make sure to press the rope firmly down as you progress and pay attention that the rope is tight-knit so that there are no exposed gaps. Once the glue has dried, you are ready to go and use the basket or box for a variety of needs; as a garbage bin, craft holder, letter holder, the possibilities are endless.
Knowing how to create useful DIY projects is a great way to personal and accessorize your space. All of these projects are easy enough that anyone can do them, plus many of them allow for you to recycle and reuse items you may already have around the house.
Try one, or try them all, but we guarantee you will have fun putting your own flare on some new items for your home.
Contenu associé


